The previous blog post generated the following comment:
Quick question if you’re busy putting off book two … Do you use any particular software for your first draft?
Linzi
Since I am still putting off book two (though I hit my word count goal every day last week! 🎉), I thought I’d get into a little more detail than a comment would support. The short answer is that I use Scrivener for all of my drafting, including edits, but if you’d like a peek behind the curtain, read on!
I’m going to use my actual Scrivener file for Polaris Rising, so if you haven’t read the book yet, you may want to do that first. There shouldn’t be too many spoilers, but why wouldn’t you want to read about a badass space princess and an outlaw soldier? ;)
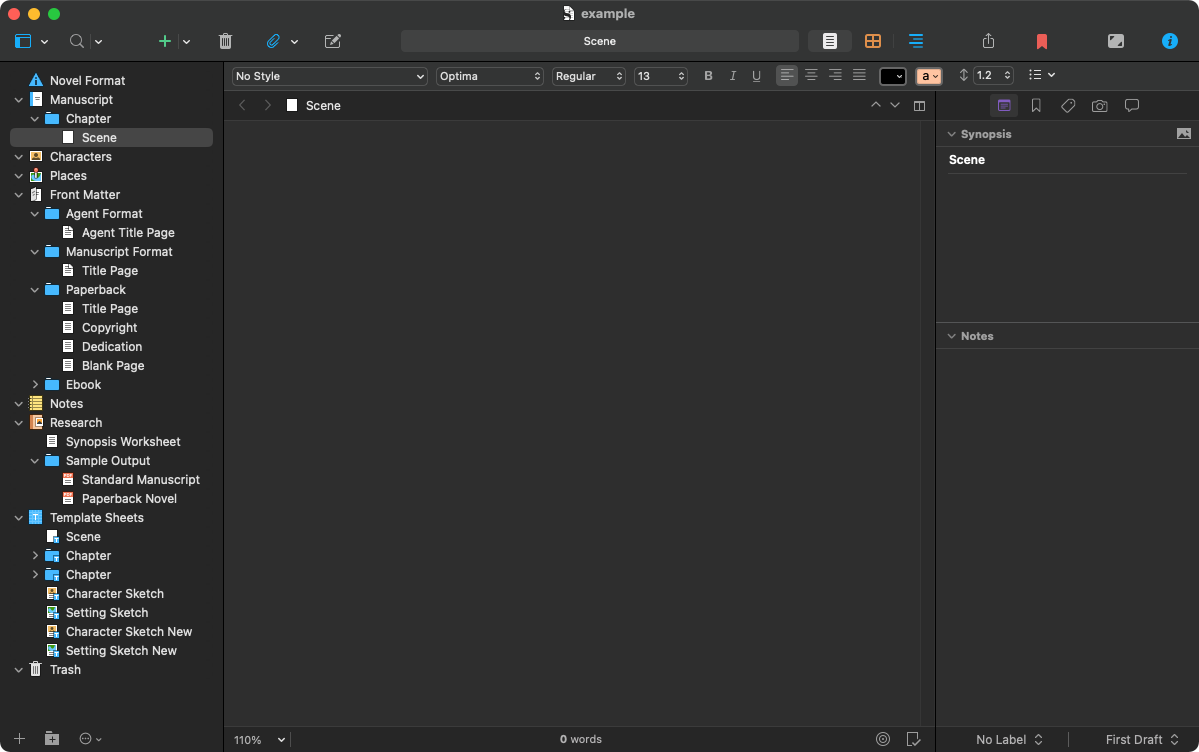
Scrivener has a default project type for novels, which is what my custom template is based on. My template evolves a little bit over time as I find ways to tweak it just so for my writing style, but the basics remain the same as the default template. All of my new projects start out looking like this:
One of the things I really like about Scrivener is that text is broken down into scenes. A scene is technically just an arbitrary piece of text—it could be anything—but thinking about them as actual scenes of a book is useful for me, especially for pacing. And scenes can be moved around, split, reordered, and dragged from one chapter to another with ease, which helps when the pacing isn’t quite there and things need to be adjusted.
This is what the first nine-ish chapters of PR look like in Scrivener:
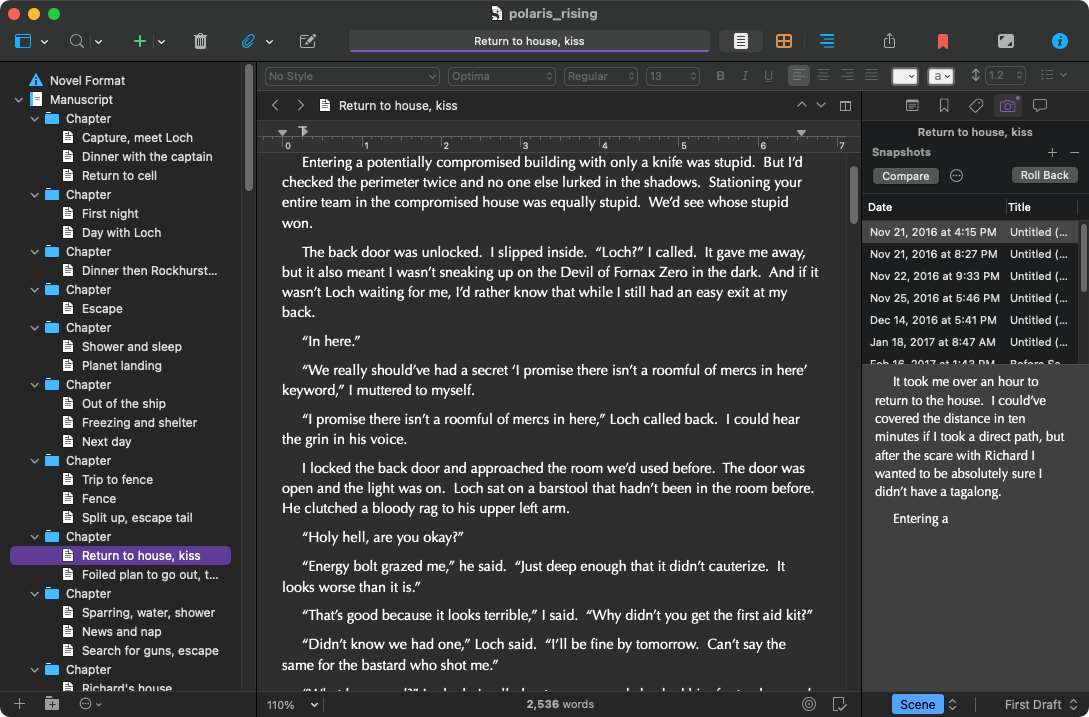
There’s a lot going on here, so let’s break it down. On the left (called the binder) is a list of the chapters and their various scenes. I give mine short descriptions so I remember what’s in them without having to open each one.
In the middle is the main editor. This is where I spend most of my time, because it’s where the words actually happen. You can see that I’m one of the ancients who still uses two spaces after a period while drafting (but weirdly, only while drafting). Scrivener handily strips them out for me when I export, another perk.
On the right is the inspector which has all of the meta info about the selected scene. Here it’s showing snapshots of the scene’s history. This is another big benefit of Scrivener: version history. Just like git for code, Scrivener can keep a history of your documents, so if you make a big change and decide you hate it, you have the original. You have to set it up (mine snapshots changes on every manual save), but it’s a nice feature. Before I do any edits, I make a titled snapshot of the whole manuscript so I can roll back if I need to.
Scrivener can also hold all of the information about a project, not just the manuscript itself. So all of my notes and research can go right in the file, keeping everything together. Here is part of the research and notes section for PR:
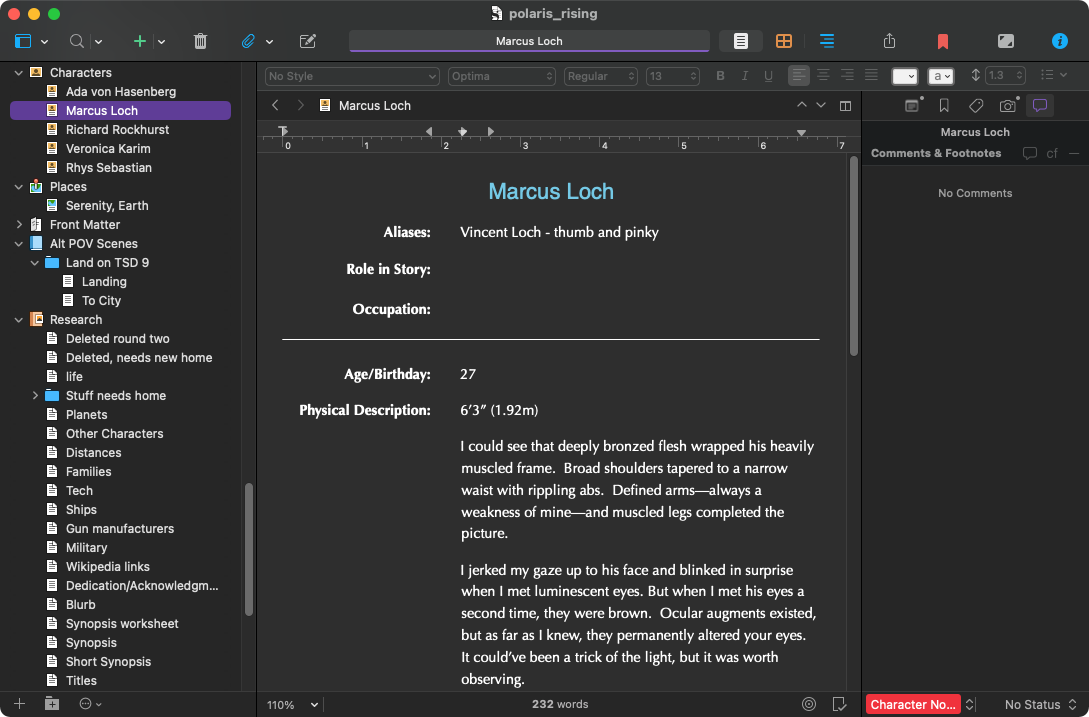
Here you can see I keep character sheets for my main characters, as well as place descriptions and tons and tons of notes. Mostly my character sheets are just places I dump description as I write it, so I don’t accidentally change their hair or eye color, but it also keeps some personality info and other things important to keeping their progression consistent throughout the book.
The research section is where everything else goes. I keep a list of minor characters so everyone doesn’t share the same name, or the same starting letter. Apparently I love some letters more than others, so I have to watch it.
When I start the second book in a series, I’ll copy over all of my character sheets, location details, and research from the first book, then keep adding to it. This helps with continuity and means I don’t have to keep pulling up the first book to check minor details.
The last thing Scrivener really shines at is exporting your text into various formats. Publishing runs on Microsoft Word, so I export to Word in the standard manuscript format (Times New Roman 12, double-spaced) before sending the draft off to my editor. As I said before, Scrivener strips out all of my extra spaces as part of the export, saving me a find and replace step.
When edits arrive, I keep Word open with my editor’s feedback and make the changes directly in Scrivener, then do a clean export of the edited draft. Copyedits are a little trickier, because all of the changes have to be made directly in the Word file, but I duplicate the changes in Scrivener, so my saved draft matches the copyedited text. Same for changes made to the galley pages. When I’m done, my Scrivener project exactly matches the final text in the book.
Scrivener can also export directly to the various ebook formats, which is great for getting the book into the hands of my early readers, as well as output in a HTML format that is compatible with the blog, so I don’t lose italics when I post snippets. And you can set up custom formats that are shared across projects, so the output is always formatted exactly how you want.
All of this flexibility is one of the reasons Scrivener tends to have a very high learning curve. I didn’t even get into a fraction of the features, but I don’t use a lot of them because I usually draft from start to finish, so I don’t need to see my outline or corkboard or any of the other million little things Scrivener supports. Finding the way that works for you is one of the biggest challenges of using Scrivener.
I’ve been using it since 2008, have written seven published (or to-be-published) books, one trunked novel, and countless partials with it, and I still find things I didn’t know about. But if you have any questions, drop me a comment and I’ll do my best to answer. :)
Happy writing!
No questions, just wanted to say that I enjoyed this post-very interesting! It makes me want to write (but I won’t, lol).
Okay, okay, I give. I’ve been waffling about getting Scrivener for several years, ever since they were offering it for a reduced price for NaNoWriMo participants. But your example shows me how helpful it is in real life. I have my research all over the place, and text I wrote and wanted to keep but move somewhere else coded in multiple colors at the end of my draft…and this seems a lot more organized.
Very good information, and thank you.
(And yes, I ALWAYS will want to read about a badass space princess and an outlaw soldier!)
Super interesting. Thanks for sharing.
What was the trunked novel?
It’s the start of an urban fantasy series. One of these days I’ll edit it and release it, but it was going to be a hard sell when I was looking for an agent/publisher. :)
I am not a writer and have no burning desire to create a book. However I have recently had several family discussions on memory books or finished (is there such a thing?) genealogy projects. It is interesting to step back from the collection of specialized tools.
I have enjoyed your books: a nice mixture of adventure and romance. Thanks.